
Using Token2 programmable hardware tokens for OneLogin user account
 OneLogin gives users the ability to access the applications and other resources they need to do their job by logging in once to a single interface.
Platforms like OneLogin are known as Identity and Access Management (IAM) solutions that are primarily used to provide their users with a Single Sign-on (SSO) experience.
OneLogin gives users the ability to access the applications and other resources they need to do their job by logging in once to a single interface.
Platforms like OneLogin are known as Identity and Access Management (IAM) solutions that are primarily used to provide their users with a Single Sign-on (SSO) experience.Multi-factor authentication(MFA) and two-factor authentication(2FA) add an extra layer of security to your users' accounts, drastically reducing the chances of sensitive information being hacked by cybercriminals.
OneLogin allows the use of Token2 programmable tokens and Token2 Security keys for two-step verification.
In this article, we will show the procedures required to enroll and use Token2 programmable TOTP tokens for two-factor authentication for OneLogin user account (as a replacement for the Authenticator App).
Requirements:
• A OneLogin account with admin rights• A Token2 programmable token
•An app for provisioning the programmable tokens (NFC burner or USB Config tool, depending on the model). The list of compatible apps is available here.
Step 1. Enable MFA
Create an authenticator factor
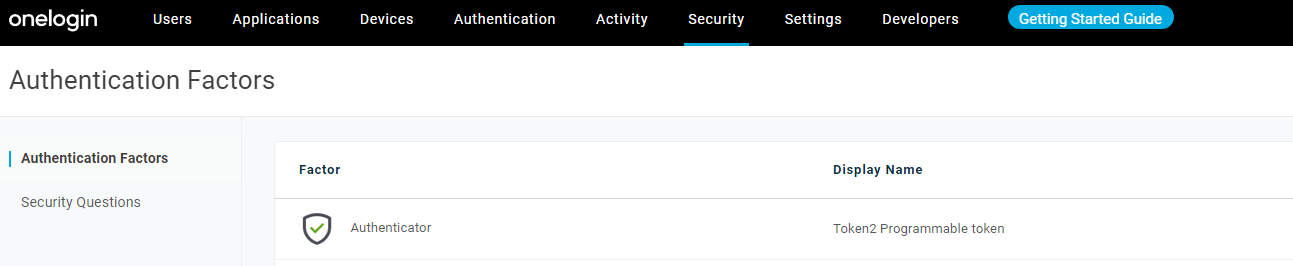
1)Log in to your OneLogin account as an Administrator.2) Go to Security>Authentication Factors.
3) On the Authentication Factors page, click New Auth Factor.
4) Select Authenticator.
5) Give a user description(for example:Token2 Programmable token).
6) Click Save.
The authentication factor is listed on the Authentication Factors page.
Create a user Security policy and add the authentication factor
1) Go to Security>Policies.2) On the Policies page, click New User Policy.
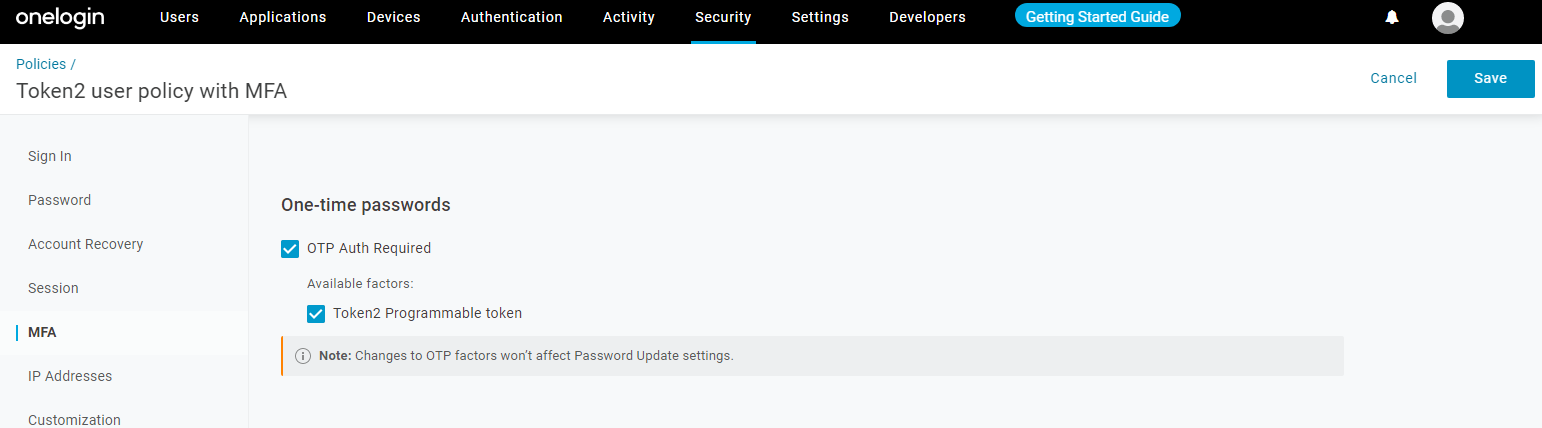
3) Give name for the created policy.

4) Go to MFA tab.
5) In the One-time passwords section, check OTP Auth Required and Token2 Programmable token.
6) In the Enforcement settings section, select which users will require OTP and when :
- Select All users from the dropdown box: This applies to all users. Users will be prompted to set up an authentication factor during their first login attempt.
- Select at every login.
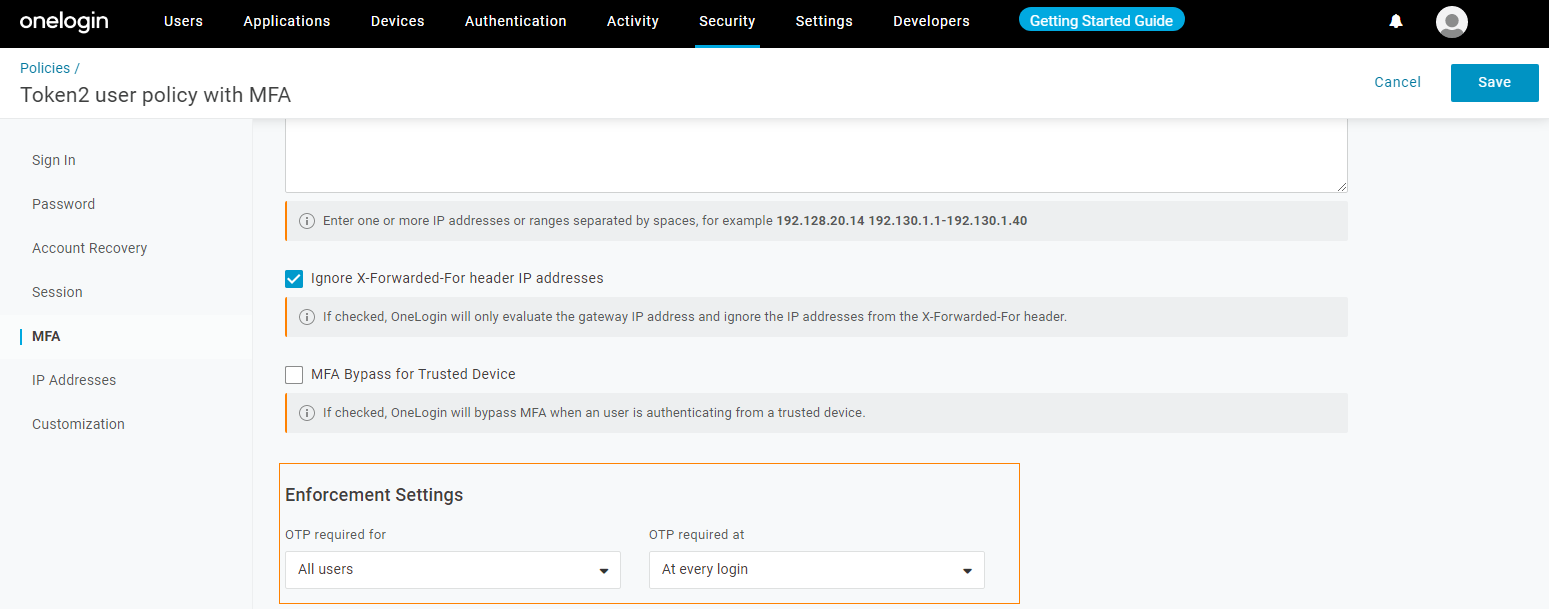
7) Click Save.
Assign MFA security policies to a group
A OneLogin group is the ideal way of associating users with MFA security policies.1) Go to Users > Groups.
2) Click New Group.
3)Give a name for the new group and select Default policy from the dropdown menu.
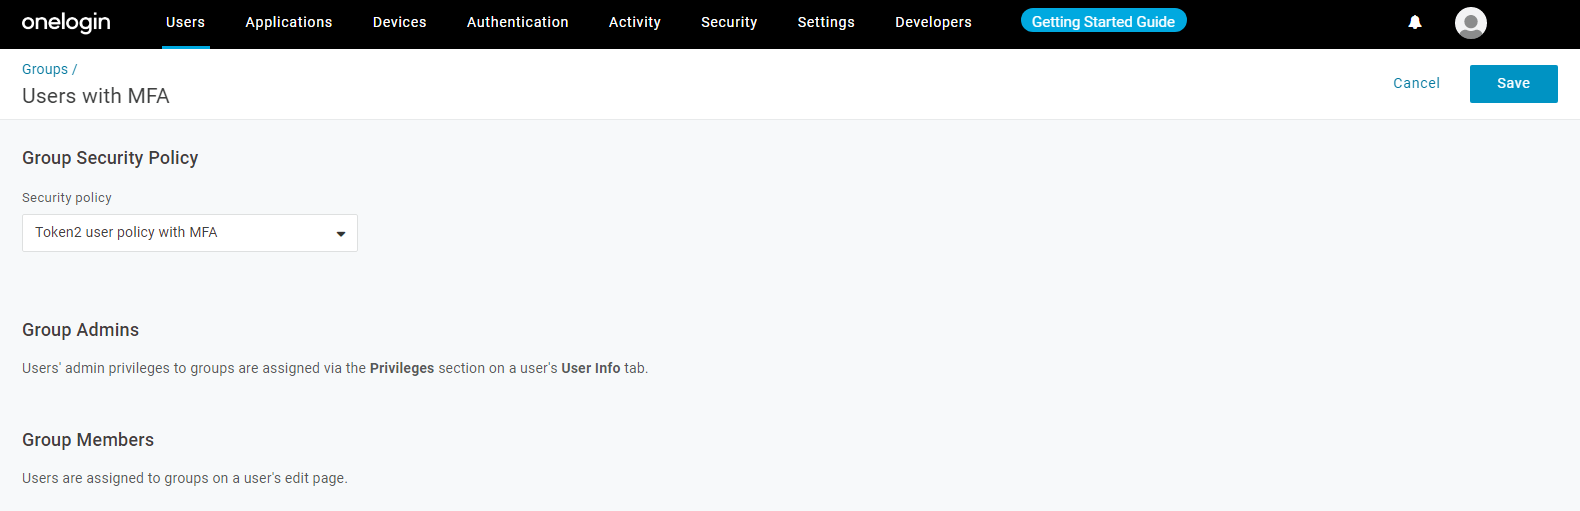
4) Click Save.
Now you can add users to this group. The members of this group will have an extra layer of security - when the users log in, they will be required to register their device.
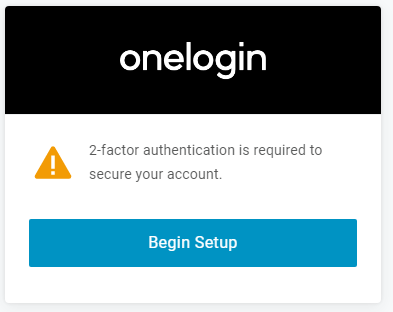
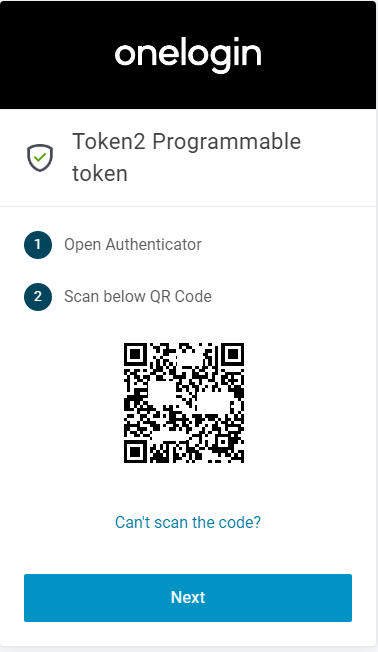
Click Begin Setup.QR code will be displayed in the browser that you will scan using one of the provisioning tools in the next step.
Step 2. Provision the token
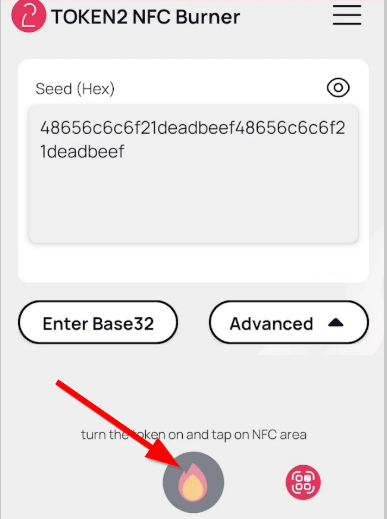
- Launch the NFC burner app on your Android device and hit the "QR" button

- Point the camera to the QR code shown on the account page. Upon a successful QR scan, the camera window should disappear
- Turn on the token and touch it with your phone (make sure it is overlapped by the NFC antenna) and click "Connect" on the app
- Upon successful connection, click the "Burn seed" button (the button will become active only if NFC link is established).
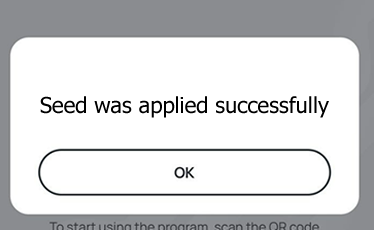
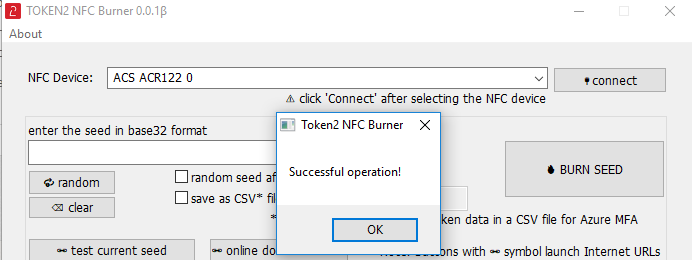
- A message box similar to the one below will be shown upon successful completion
Follow the steps below to perform setting the seed for your token using Windows App.
1. Launch the exe file, then select the NFC device from the drop-down list and click on "Connect". You should see a message box notifying about a successful operation.
2. Enter or paste the seed in base32 format, or use one of the QR scanning methods to populate this field
3. Place the token onto the NFC module and wait for its serial number to appear.
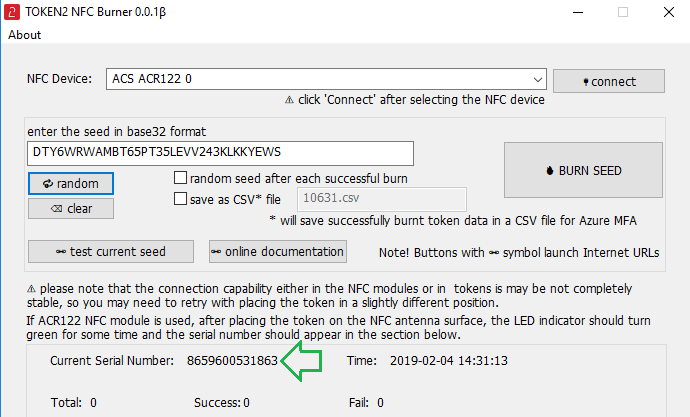
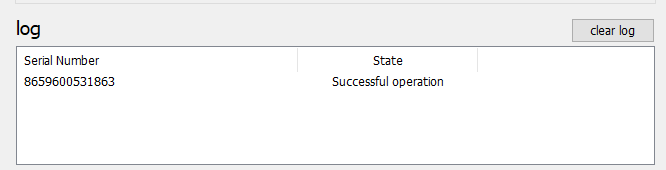
4. Click on "Burn seed" button. A log entry with the serial number and "Successful operation" text will be logged in the log window.
- Launch the NFC burner app on your iPhone device and hit the "scan QR" button
- Point the camera to the QR code shown on the account page. Upon a successful QR scan, the camera window should disappear and the seed field will be populated with the hex value of the seed. Touch the Burn button to continue.
- When an NFC prompt similar to the one below is shown, turn on the token and touch the top of your iPhone with the token.
- A message box similar to the one below will be shown upon successful completion
Please note that the procedures above are shown only as examples and are valid to single profile TOTP tokens only. The procedure for multi-profile and USB-programmable devices are similar but slightly different
Step 3. Verify the OTP
After the token provisioning is done, turn the token off and back on. Enter the OTP generated by the hardware token and then click Continue.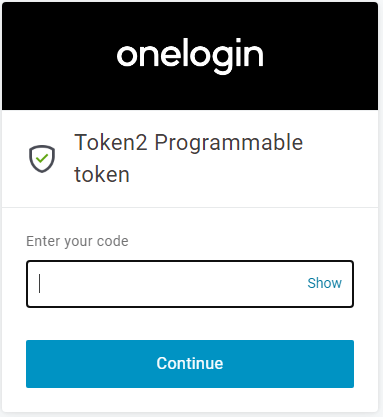
Subscribe to our mailing list
Want to keep up-to-date with the latest Token2 news, projects and events? Join our mailing list!